
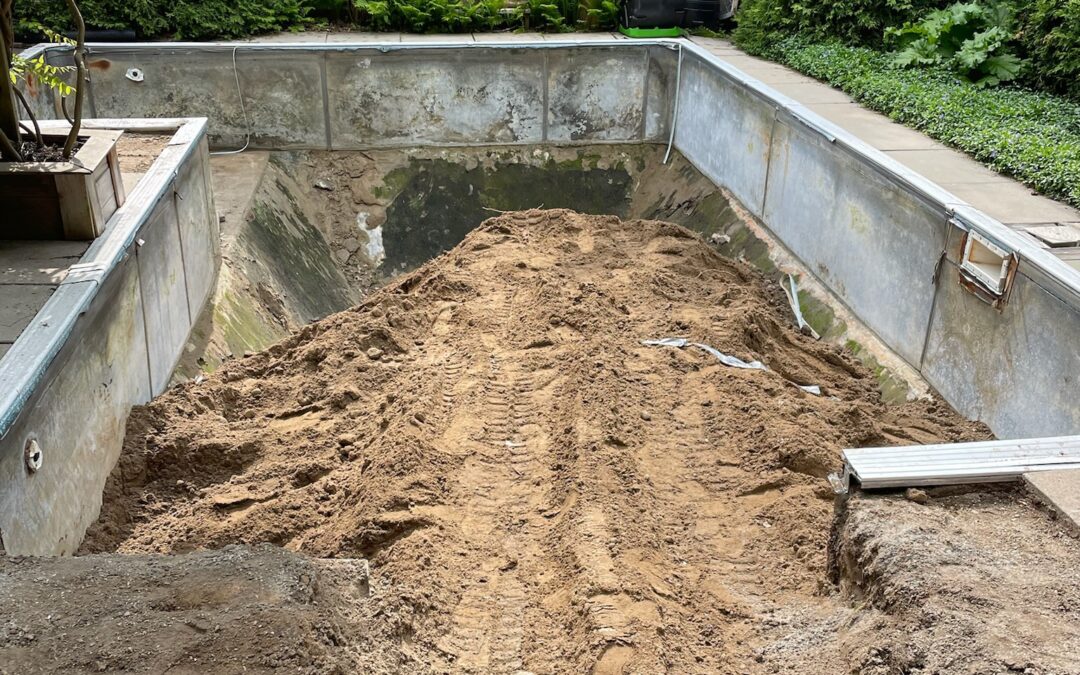
What’s Involved in Inground Pool Removal and Excavation?
Thinking about removing an inground pool? You’re not alone. For a lot of Ontario homeowners, a pool starts out as a backyard dream and slowly turns into a maintenance bill, a safety worry, or space that just isn’t getting used the way it used to.
The good news is that inground pool removal is very doable, and when it’s handled properly, it can give you back a safe, usable yard you can actually enjoy.
Below is a clear, homeowner-friendly look at what’s typically involved in inground pool removal and excavation, what affects the scope of work, and what you can expect once the project is complete.
First, what does “inground pool removal” actually mean?
“Inground pool removal” usually falls into two broad categories:
1) Partial pool removal (pool fill-in)
This approach removes the top portion of the pool structure, then the remaining area is filled with pack fill and compacted. It’s often the faster and more budget-friendly option, especially if your plans are landscaping focused (lawn, garden, patio, play space).
2) Full pool removal (complete excavation)
This is the most thorough option. The entire pool structure is removed and hauled away, then the space is rebuilt with properly compacted fill. If you want maximum flexibility for future plans, or you want to eliminate disclosure concerns when selling, full removal is often the better fit.
If you’re unsure which approach makes sense, a good contractor will walk you through the pros, cons, and long-term implications before you commit.
Step-by-step: what happens during inground pool removal and excavation?
Every property is different, but most inground pool removals follow a similar flow.
1) Site visit and assessment
Before any excavation starts, the contractor will look at the pool type and condition (vinyl, fibreglass, concrete/gunite), the surrounding structures, and one of the biggest factors: access.
Access matters because it affects what machinery can safely get to the pool area, and how materials will be removed from your yard.
During this phase, you should expect questions like:
- How wide is the access gate?
- Are there fences, sheds, decks, or landscaping features in the way?
- Are there slopes, retaining walls, or tight corners?
- How close is the pool to the house, septic, or other structures?
2) Utility and safety planning
Pool removal involves excavation and heavy equipment, so safe planning matters. This typically includes identifying and dealing with any relevant electrical, water, or gas considerations related to pool equipment and nearby services.
If you’ve got a pool heater, pump, lines, lighting, or automation, those need to be handled correctly.
3) Draining and disconnecting equipment
Before demolition, the pool needs to be drained and the equipment and lines need to be disconnected appropriately. If you have old equipment you want removed and disposed of, that can usually be handled as part of the project.
4) Removing surrounding concrete or decking (if required)
Many pools have a concrete deck around them. If you’re doing a full removal, or if the deck needs to come out to allow equipment access, the contractor may break up and remove that concrete first.
This can be a project on its own, especially if the concrete is thick, reinforced, or tight to other structures.
5) Demolition of the pool structure
This is the part most homeowners picture, and it varies based on pool type:
- Vinyl liner pools: The liner and framing are removed, and the walls are broken down as required.
- Fibreglass pools: The shell is typically cut and removed in sections.
- Concrete/gunite pools: The structure is broken up and removed, usually with larger equipment.
For a full removal, the goal is simple: remove the pool structure completely so the ground can be rebuilt properly from the bottom up.
6) Excavation and hauling
Once demolition begins, excavation is ongoing. Material gets removed, loaded, and hauled away. This includes pool debris, old base materials, and any concrete or rubble that comes out during demolition.
A professional team will keep the site controlled and organized throughout the process, because there’s a lot moving around quickly once machinery is in play.
7) Backfilling and compaction
Once the pool cavity is ready, it’s time to rebuild the space.
This is one of the most important parts of the entire job. Proper backfilling helps reduce issues like settling, drainage problems, and uneven ground down the road.
For a partial removal, the remaining shell is filled with pack fill. For a full removal, the open space is filled with compacted soil. Either way, material is placed in layers and compacted as the fill rises, so the ground is stable and ready for the next phase of your yard.
8) Grading, topsoil, and finishing
Once the area is filled and compacted, the surface is graded so water drains properly and the yard looks clean and intentional.
From there, many homeowners choose to finish with:
- topsoil and sod
- seed
- garden beds
- patio base preparation
- other landscaping plans
Your contractor should be able to explain what’s included, what’s optional, and what sets you up best for how you want to use the yard.
What affects the scope and complexity?
A few variables can change the timeline and cost significantly:
- Pool type: Concrete pools tend to involve more demolition and hauling than vinyl.
- Access: Tight access can mean more labour, different equipment choices, or more careful staging.
- Surrounding concrete: Large decks add time and disposal requirements.
- Soil and drainage conditions: Some yards need more attention to grading and drainage planning.
- Future plans for the area: Landscaping use vs. structural plans can change which removal method makes sense.
Do you need a permit for inground pool removal in Ontario?
In many cases, homeowners can fill in a pool without a permit, but there are exceptions, especially if you plan to build a structure over the area later (deck, shed, addition). It’s always smart to check with your local municipality, and a good contractor can help you understand what applies to your situation.
What can you do with the space afterward?
Once the pool is gone, you’ve got options again. Homeowners often repurpose the area into:
- a clean lawn and play space
- a garden or greenhouse area
- an expanded patio and seating zone
- a fire pit hangout space
- a low-maintenance yard layout that actually fits how they live now
If you’re planning something heavier in the future, it’s worth discussing that early so the removal method and backfill approach align with your long-term goals.
Ready to talk through your options?
Inground pool removal and excavation is a big project, but it doesn’t have to feel overwhelming. The right team will guide you through the decision points, explain what’s involved, and leave you with a yard that’s safe, stable, and ready for whatever you want to do next.
If you’re considering removing an inground pool, contact The Pool Fill-In People for a free, no-obligation consultation and quote. We’ll take a look at your setup, answer your questions, and help you choose the best path forward for your property.